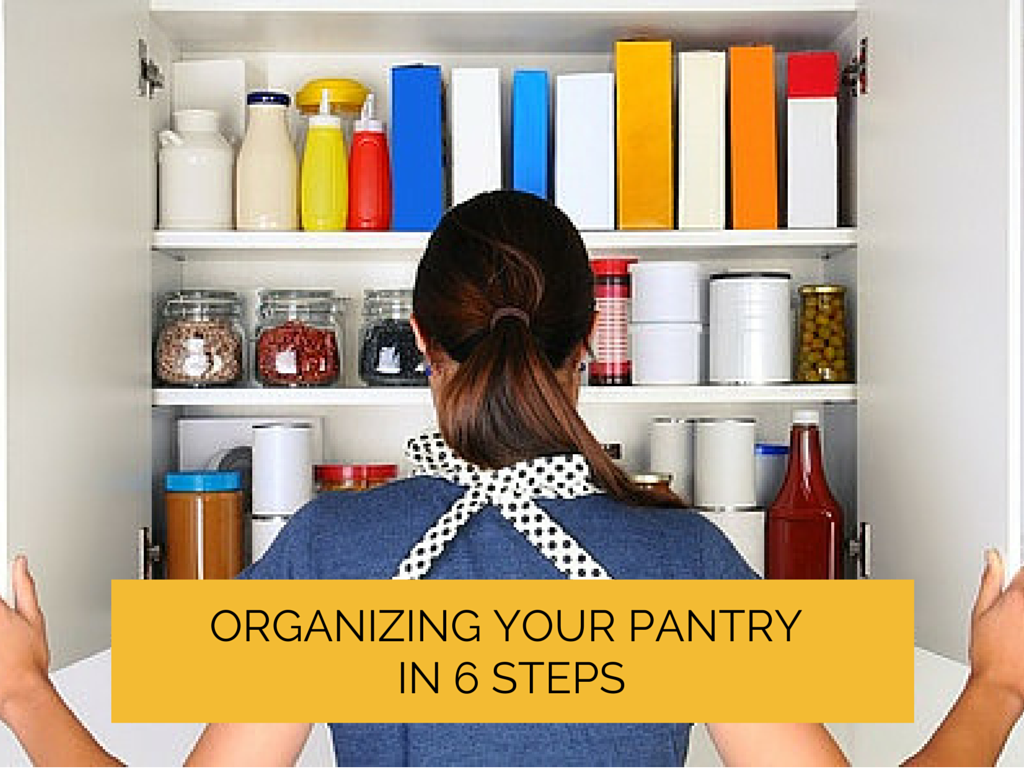
Save Time and Money
Is your pantry disheveled and disorganized? Do you buy ingredients you already have because you can’t find them when you need them? Does food go bad because you don’t use it before it expires?
A messy pantry costs you money from food waste and purchasing duplicates you don’t need.
It also costs you time scrambling to find things. You know you need a better way to deal with your food storage, but may be putting off organizing because it just seems too overwhelming. It doesn’t have to be.
Simply Placed can help you get your home or office straight – contact us for professional advice on getting organized. Whether it’s help organizing your pantry or your entire home, we’ll take away your overwhelm.
Did you know that most of us waste roughly 55 minutes a day looking for things we know we have, but can’t lay our hands on? This equates to nearly six weeks a year lost by not having your life organized whether it’s your desk, purse or pantry.
But when it comes to your pantry, this is a project you can take care of yourself, if you choose. Use these steps to quickly conquer the chaos.

Make sure you have cleaning supplies on hand. Then set aside a couple of hours, turn on your iPod and get to organizing.
Step 1 – Take everything out
You can’t properly sort and organize in a crowded pantry. Pull everything out and put it on your kitchen table and counters. As you go, check expiration dates and toss out old items – don’t even set them down on the table. If you come across any food items that aren’t expired, but you know you’ll never use, set them in a bag or box to be donated.
Check for stale items and toss those as well and also toss anything with a popped safety seal or that may be a question mark for safety. Also toss bags or boxes of food that have just a little left – those things are likely old or won’t be used in that quantity anyway.
Step 2 – Clean the pantry top to bottom
Start at the top and dust and wipe down all your shelves. Knock out any cobwebs, wipe spills off of shelves, sweep and mop the floor and wipe the baseboards. Check your shelves to make sure they’re stable, aren’t loose and are structurally sound. Now is the time to adjust your shelves up and down if you need. As you clean and look at your empty pantry think about you want to put your food away and access food and tools. A key to a good organizational system is the ease of putting things away and finding what you need when you need it.
If you have large unused space between shelves, this is a great opportunity to add a shelf between or raise a shelf up. Shelves are low cost and can be easily moved or installed with just a couple of tools (be sure to use a lever) and no particular know-how. Once the structure is clean and maintained, you’re ready.
Step 3 – Once you know what you have and have thought where it will live in your pantry, hit the store and pick up a selection of low cost see-through containers and plastic shoe boxes so you don’t have to break your momentum for supplies. Err on the side of buying extras and plan to return what you don’t need right after the project so you don’t end up with container clutter.
You shouldn’t need to spend more than $15-$20 – no need to splurge on heavy duty bins since they will be staying put and not subjected to cold, heat or a bunch of wear and tear.
Look around your home and see what you might already have on hand to use before you shop.
Step 4 – Sort into bins and containers
While your stuff is on the table, go ahead and load it into your nifty containers and bins. Packets are best stood up vertically in a shoe bin or other long narrow container. Pasta can be kept in boxes for easy stacking, but a pasta container is also great to dump remainders from opened boxes so it won’t go bad.
Chips, crackers and cereals will last longer in bins than in the boxes they come in. Move staples like flour and sugar into see-through plastic bins to keep them fresh, bug-free and so it’s easy for you to see when you’re low.
Step 5 – Sort by category
Foodstuffs are best stored by type. This makes it easy to make meal decisions, substitutions and create shopping lists at a glance. Sort on the table so you can see what you have more of, which items are tall and need more head space and to best plan what to put where before you reload it all into your pantry.
Baking items should go together, snacks in a batch, cereal and breakfast bars in another, pastas in a pile and soups and canned foods in stacks. Once you have them all sorted, think about what you use most often and put this at eye level for easy reach. Kid stuff can go on a lower shelf. Label your bins so that it is easy to see what belongs where.
Step 6 – Load up your pantry
Now that you’re sorted, put everything back into the pantry and arrange to maximize access and visibility. Since the tallest shelf is out of sight and tougher to reach, consider storing seasonal platters and rarely used small kitchen appliances here. Finally, consider door mounted storage for non-food items.
IKEA has a great $2 bin for plastic grocery bags. A door rack for foil and plastic wrap runs about $10. A deeper bin is great for paper and reusable shopping bags. And don’t forget the floor. Space under the bottom shelf is perfect for cleaning supplies, plastic bins of dog and cat food and bulk items.
Your organized pantry will make meal planning easier, save you time and cut back on food waste. And to keep your pantry ship-shape, take a minute or two to tidy it when you make your weekly shopping list. For help and ideas on simplifying your life, consider scheduling a one-on-one consultation with a Simply Placed professional. We’d love to be of service! Check out our offerings here.